Can I use one cup type for everything?
You can, but results will be less consistent, especially in baking.
You are halfway through a batch of muffins and realize you have been measuring the milk in a dry measuring cup. Or maybe you scooped the flour using the same Pyrex jug you normally fill with broth. It seems like a small thing, but that swap is one of the quietest ways to throw a recipe off. Dry and liquid measuring cups are built for different jobs, and mixing them up can nudge ingredient totals just enough to change texture, browning, and consistency. It matters most in baking and scaled recipes, where small differences stack up fast. For fast unit checks while you cook, use cups to mL, reverse with mL to cups, and browse related tools in Kitchen Volume.
Cup measurements became standard in American cooking in the late 1800s, popularized by Fannie Farmer who standardized recipes for home cooks. Most of the world moved toward weight-based metric measurements instead. That difference is why a recipe from a metric source and one from an American cookbook can produce different results even when both say "1 cup."
What are dry measuring cups actually for?
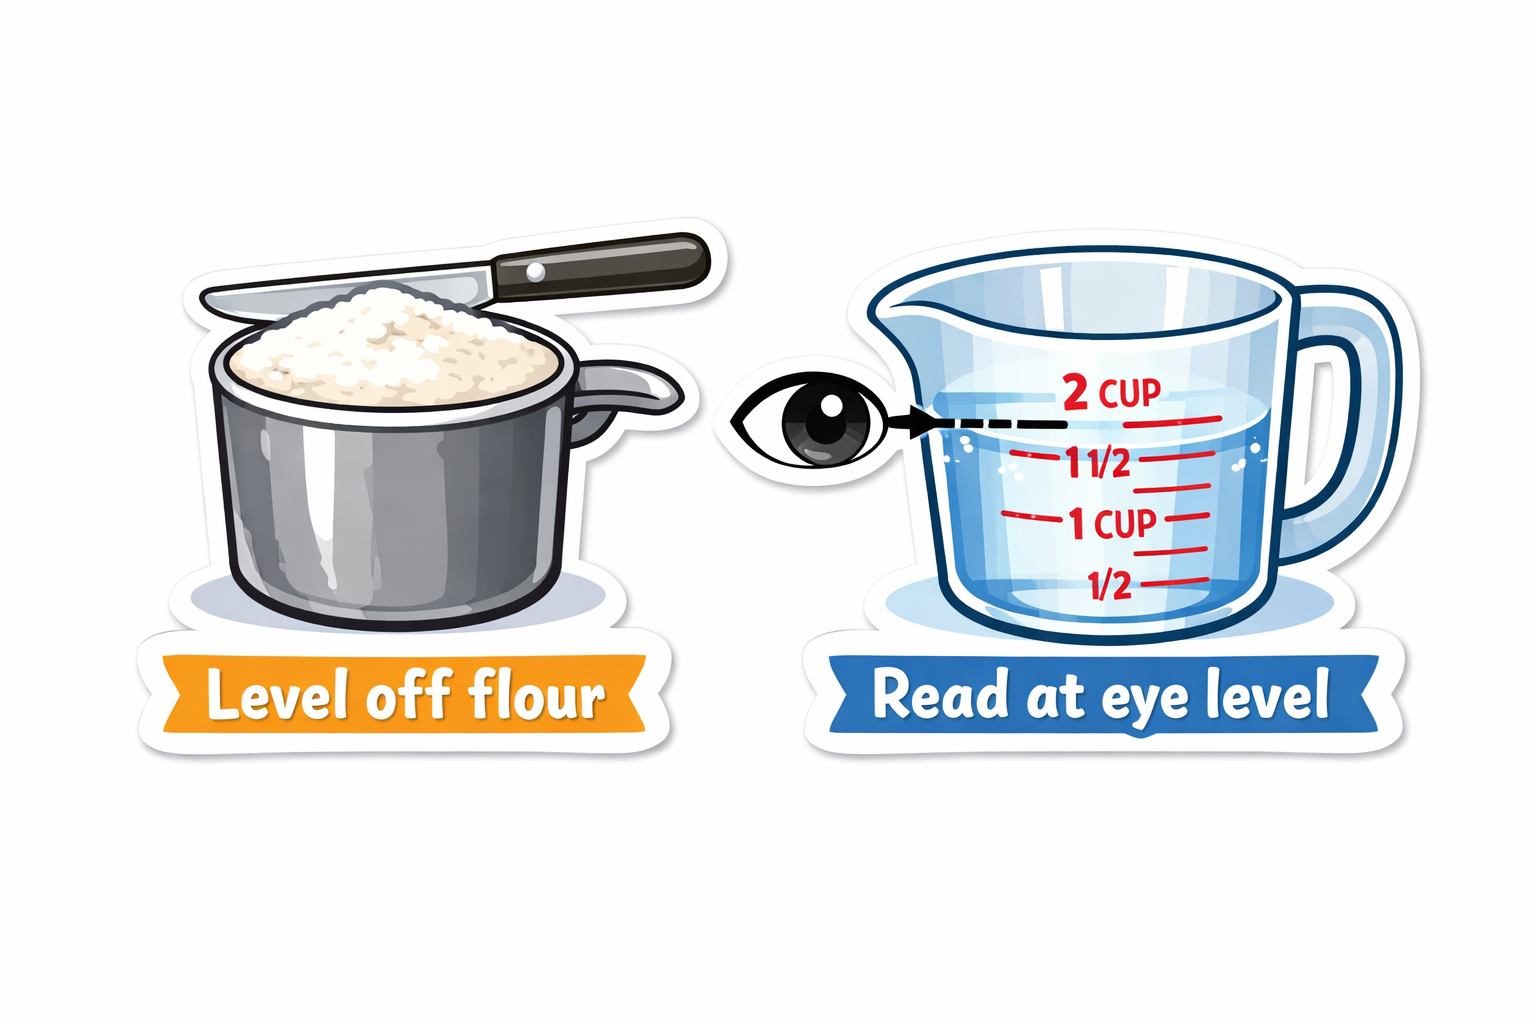
Dry measuring cups are designed to be filled level with the top. That means scooping in the ingredient and then sweeping a straight edge across the rim to remove anything above the line.
This matters most for flour and powdered sugar, which can pack down or puff up depending on how you fill the cup. Scooping directly from the bag compresses the flour and can add 10 to 20 percent more than the recipe expects. Spooning the flour in lightly and then leveling is the technique that most baking recipes assume you are using.
For best consistency, spoon light ingredients into the cup, then level with a straight edge. Scooping directly from a bag often compacts ingredients and increases actual weight.
Liquid cups work on an entirely different principle.
What makes a liquid measuring cup different?
Liquid measuring cups are designed to be read, not leveled. They have a spout and measurement lines marked below the rim so you can pour to the line and verify it at eye level.
The reading position matters more than most people realize. Pour slightly under your target line, set the cup flat on the counter, and crouch down to check at eye level. Reading from above almost always makes the volume look higher than it is, which leads to overfilling.
A quick example: say a recipe calls for 1 cup of milk. Measured in a dry cup, you fill it to the brim with no easy way to check your accuracy. Read from above in a liquid cup, and parallax makes it look like you have reached the line when you have not. Either way, you can end up 10 to 15 mL off, which in a thin batter or delicate custard is enough to change the texture noticeably.
Use a flat counter, pour slightly below the line, then top up slowly. Reading while the cup is tilted in your hand usually causes overfilling.
| If you are measuring | Best tool | Why it helps |
|---|---|---|
| Flour for cookies | Dry cup or scale | Lets you level the top instead of guessing at a line |
| Milk for batter | Liquid cup | Lets you read the line at eye level |
| Oil for cake | Liquid cup | More accurate than filling a dry cup to the brim |
| Brown sugar | Dry cup | Gives you room to pack and level properly |
| Honey or peanut butter | Dry cup or plunger cup | Handles thick ingredients better than a pour-spout jug |
That quick reference is useful because the right tool depends more on how the ingredient behaves than on whether it looks wet or dry at first glance.

What about sticky ingredients like honey or peanut butter?
Semi-solid ingredients sit in an awkward middle ground. Peanut butter, honey, sour cream, yogurt, and cream cheese are thick enough that they will not pour cleanly into a liquid cup, but they also will not level off cleanly in a dry cup. For these, a dry measuring cup or a plunger-style measuring cup works best. Press the ingredient in firmly to remove air pockets, then level the top.
For honey and syrups, spray the inside of a dry cup lightly with cooking spray first and the sticky ingredient will slide right out without leaving half of it on the cup walls.
| Ingredient | Cup type to use | Notes |
|---|---|---|
| All-purpose flour | Dry cup | Spoon in and level; never scoop directly |
| Granulated sugar | Dry cup | Scoop and level is fine for sugar |
| Brown sugar | Dry cup | Pack firmly unless recipe says otherwise |
| Milk | Liquid cup | Read at eye level on a flat surface |
| Water | Liquid cup | Read at eye level on a flat surface |
| Vegetable oil | Liquid cup | Use a liquid cup for accuracy |
| Honey | Dry cup | Spray cup with cooking spray first |
| Peanut butter | Dry cup or plunger cup | Press firmly to remove air pockets |
| Sour cream | Dry cup | Spoon in and level |
| Cream cheese | Dry cup or weight | Weight is most accurate for baking |
What mistakes quietly throw off your measurements?
Even with the right cup in hand, a few common habits introduce error without you noticing.
Using a liquid jug for flour and treating the line as exact dry volume.
Scooping flour directly with a dry cup and packing it unintentionally.
Reading liquid lines above or below eye level.
Switching between Metric and US cup assumptions without realizing it.
Rounding each step separately instead of converting once, then scaling.
What is the right cup to use and when?
Avoiding those mistakes is straightforward once you have a consistent approach for each ingredient type.
Dry ingredients: use dry cups, fill, and level with a straight edge.
Liquids: use a clear liquid cup, place it on a counter, and read at eye level.
If a recipe provides grams, use a kitchen scale for repeatable baking results.
When recipes mix cup standards, convert to mL once and keep one standard through the whole recipe.
For production-style consistency, write your final measured values so you can repeat them exactly next time.
Should you just switch to grams?
If baking is a regular part of your kitchen, the honest answer is: yes, for dry ingredients. Weight removes the question of how the cup was filled. If you want to understand exactly why weight is more reliable, the guide on why weight beats volume walks through the numbers with real baking examples.
For baking, weight-based measurements (grams) are often more consistent than cups.
If your flour-heavy recipes vary batch to batch, switching just flour to grams often improves consistency immediately.
Treat cup values as a starting point and use weight where texture is sensitive (bread, cakes, cookies).
You can, but results will be less consistent, especially in baking.
Baking is most sensitive, but sauces and batters can also shift when measurements drift.
For liquids, yes. mL is easier to reproduce across recipes and regions.
Cup measurements were standardized in American cooking in the late 1800s and became the default in printed cookbooks long before the metric system gained traction in food writing. Most other countries adopted weight-based metric measurements, which is why international recipes often list grams. Neither system is wrong, but they require different tools and habits.
A plunger cup has a sliding insert that you push up to eject sticky ingredients like peanut butter or shortening. It solves the problem of thick ingredients sticking to the inside of a standard dry cup. You do not need one for everyday cooking, but if you bake regularly with nut butters or shortening it makes measuring faster and more accurate.